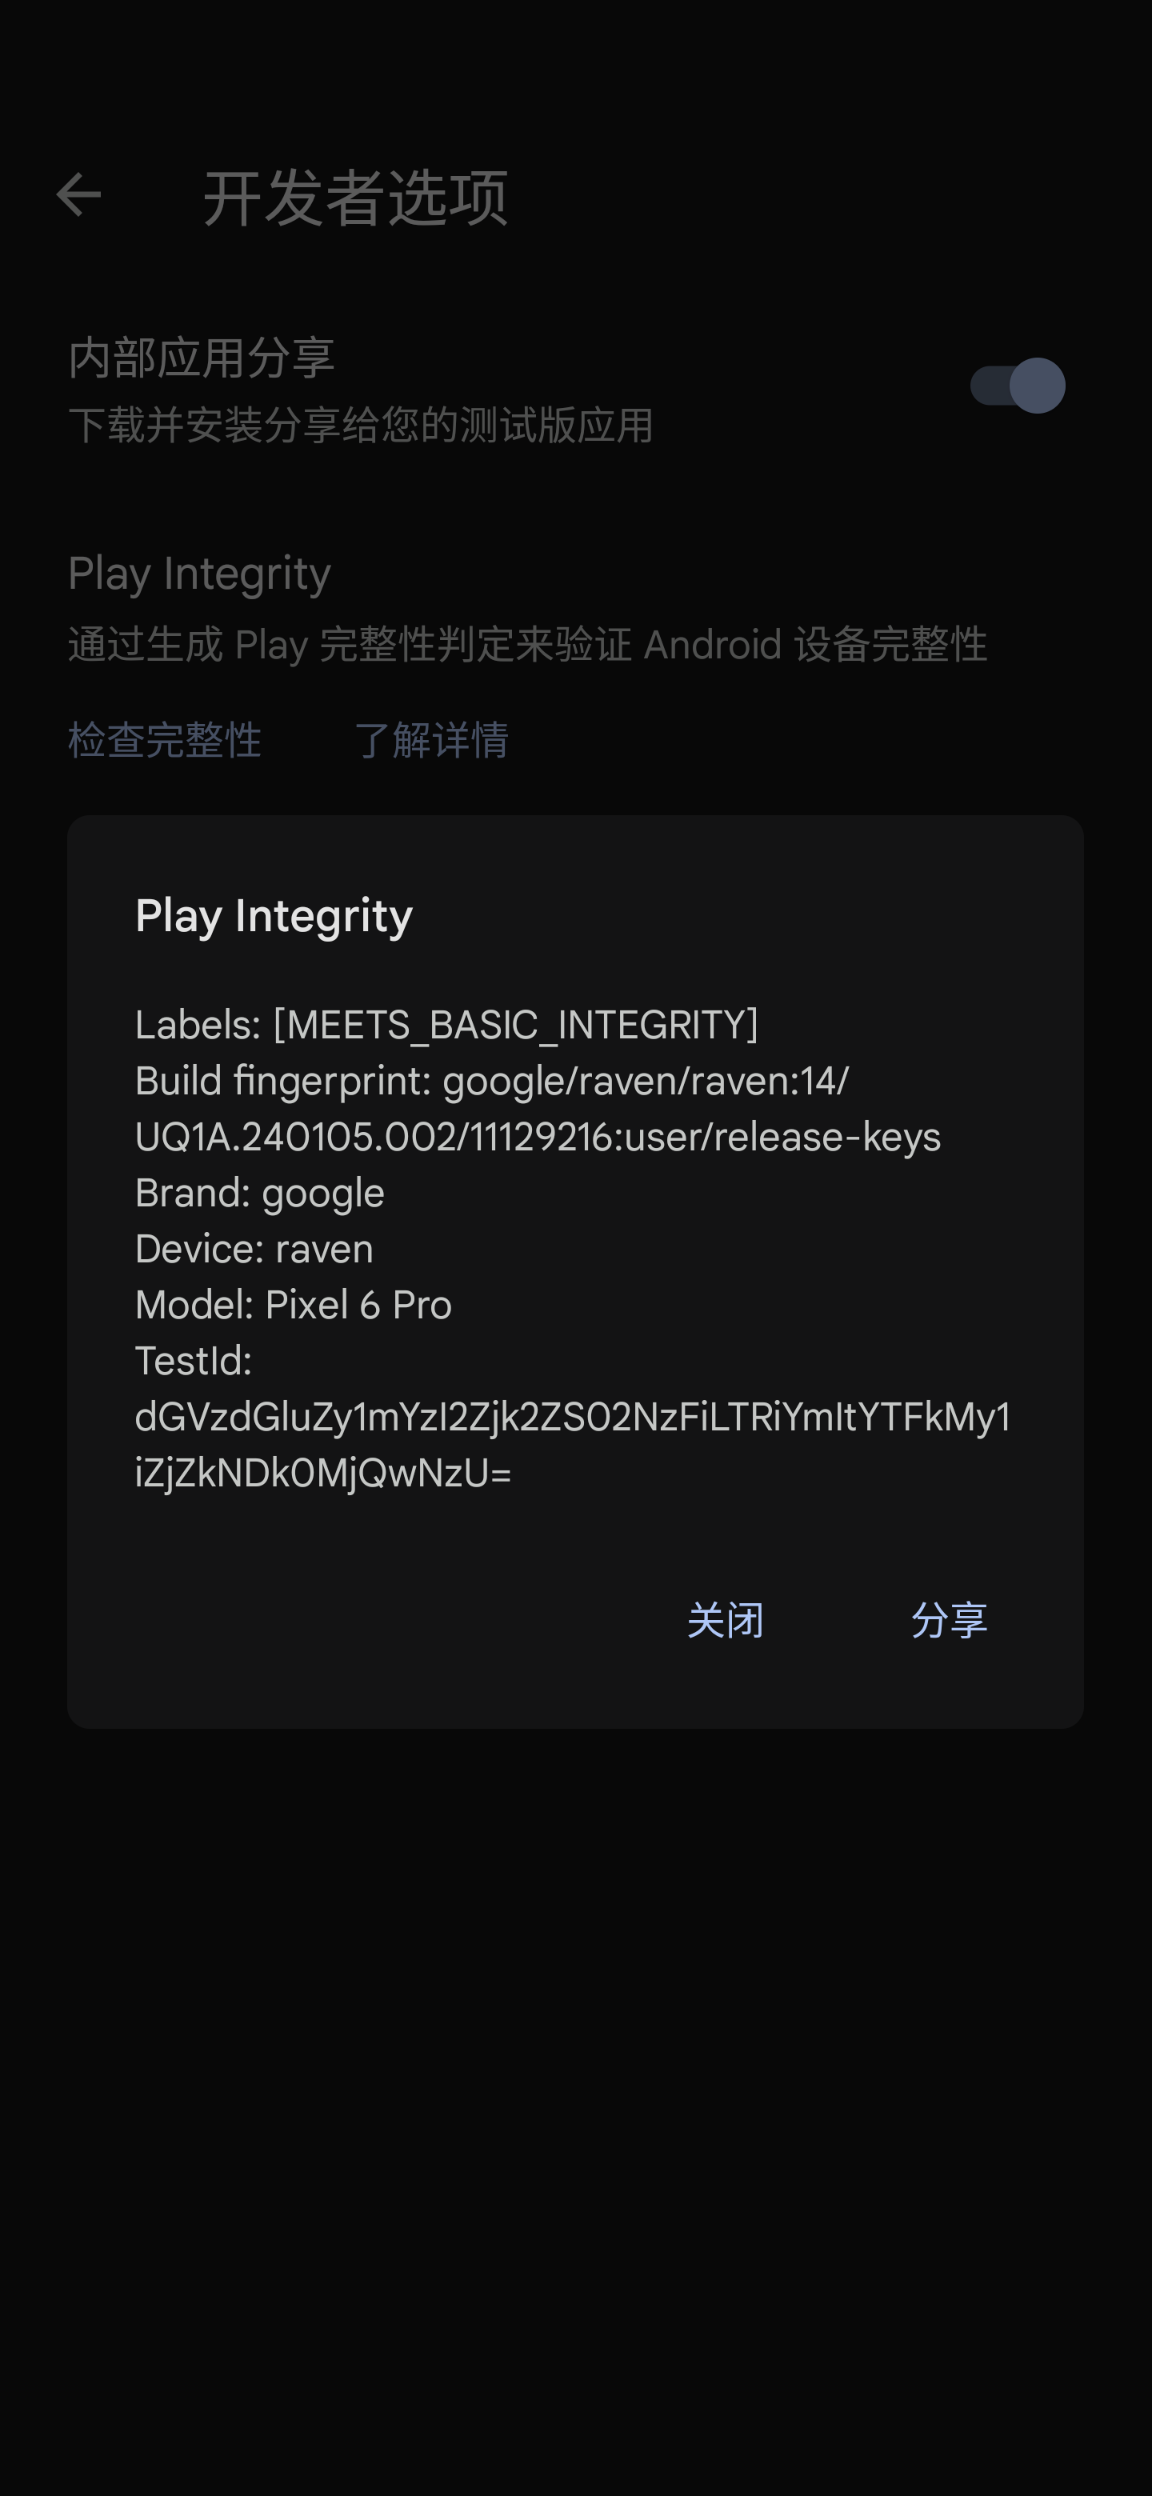
在设备解锁并 Root 后,Play Integrity 通常会出一些问题
解决问题
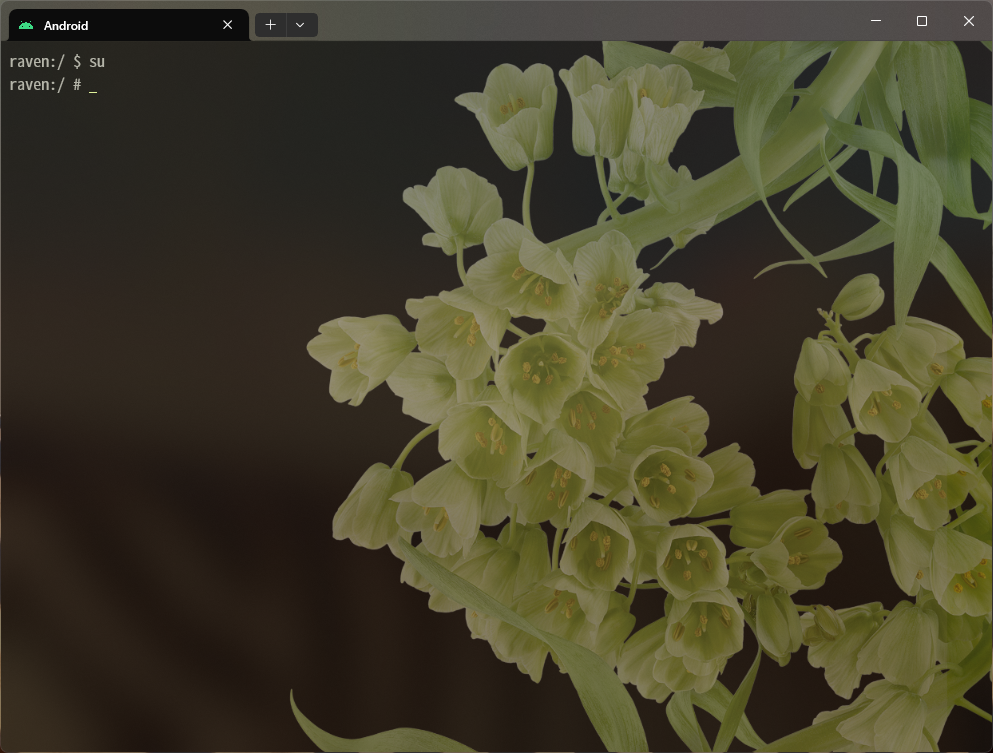
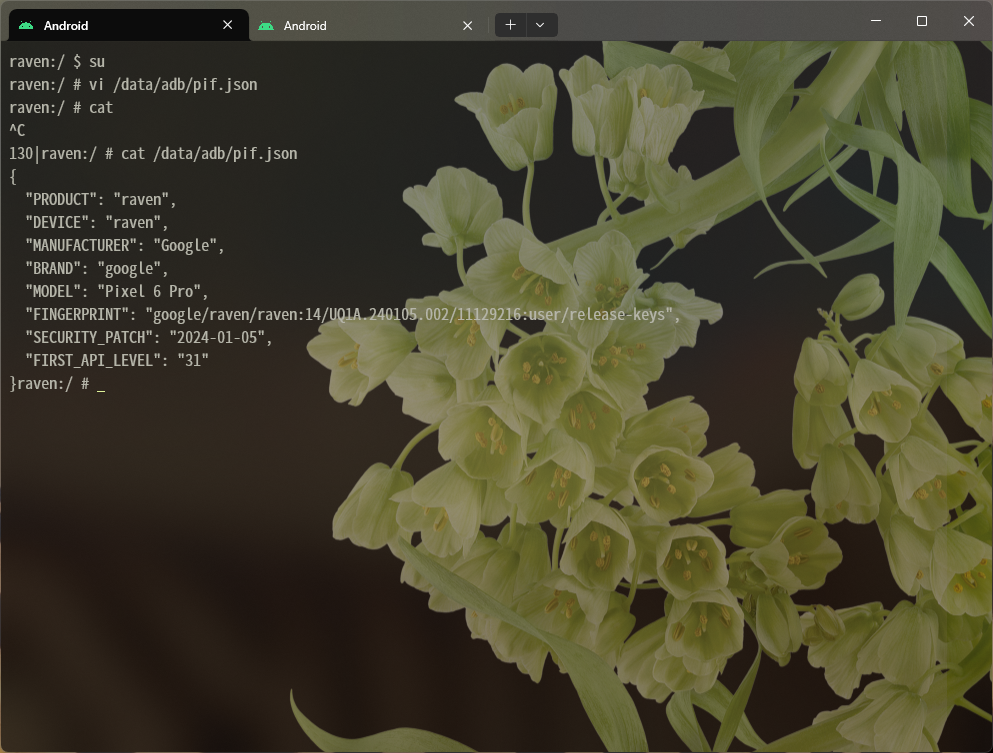
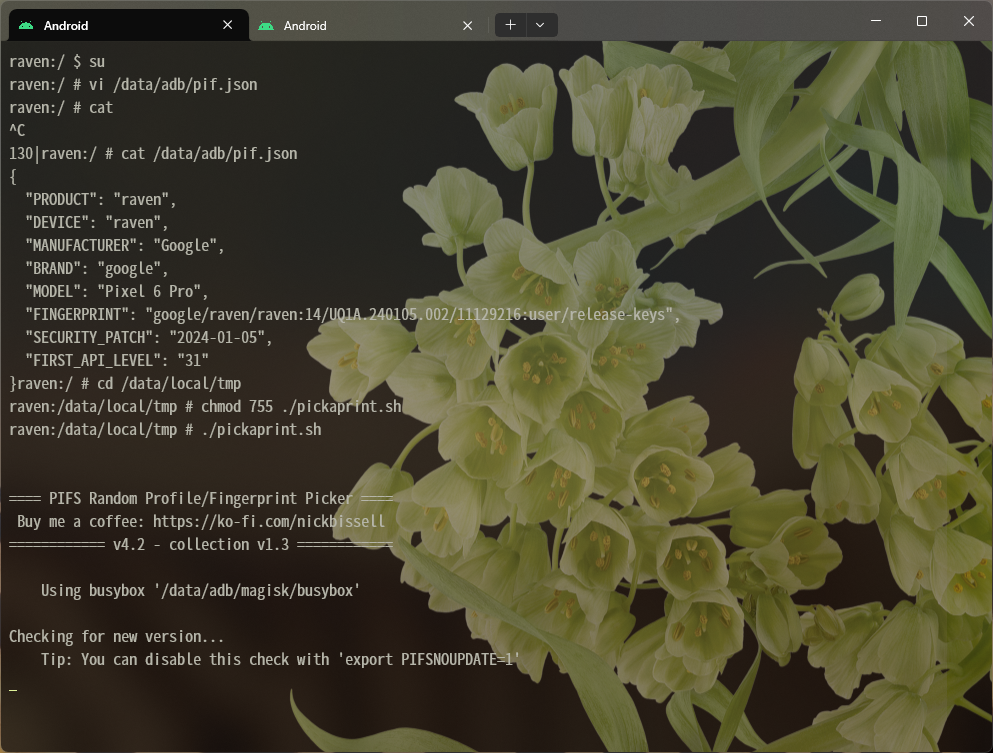
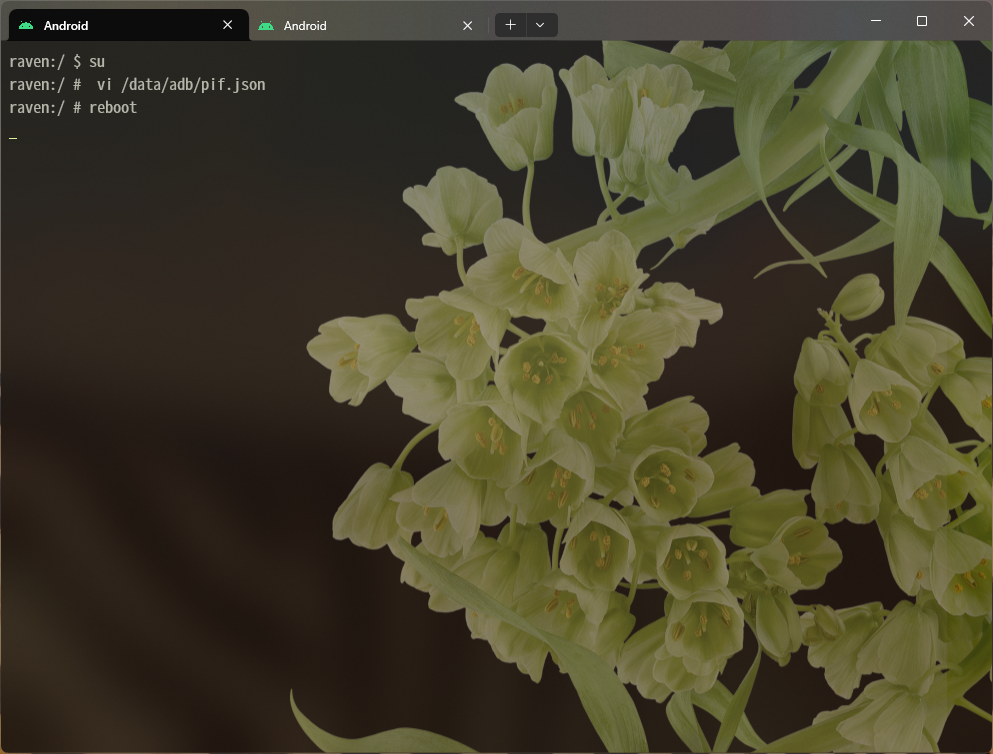
打开 Shell,并获取 root
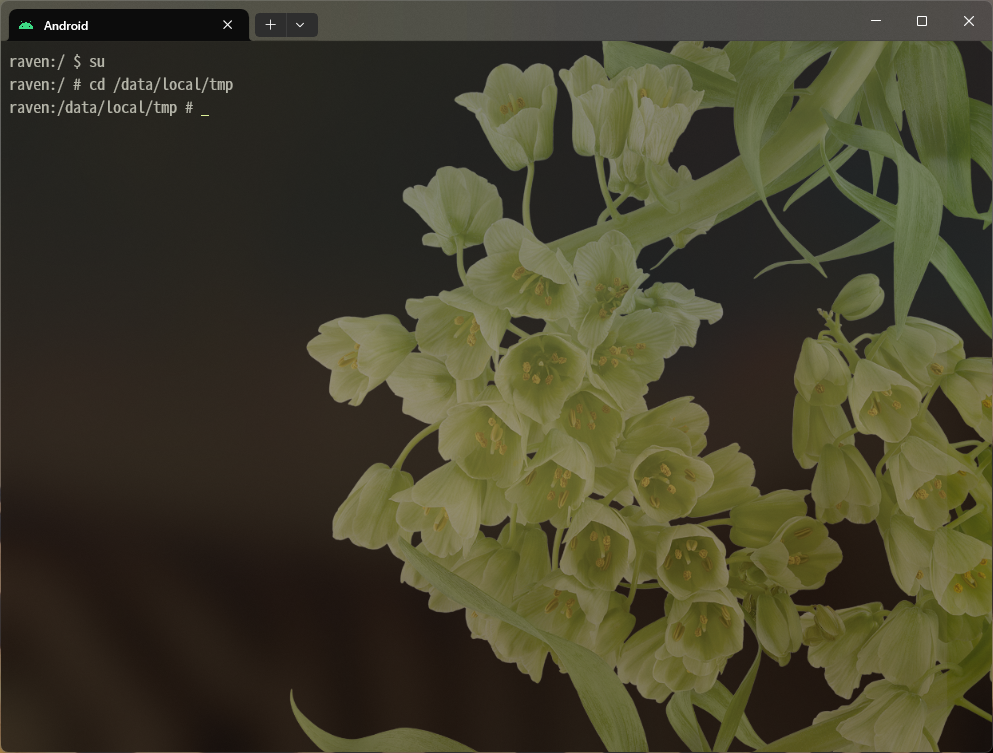
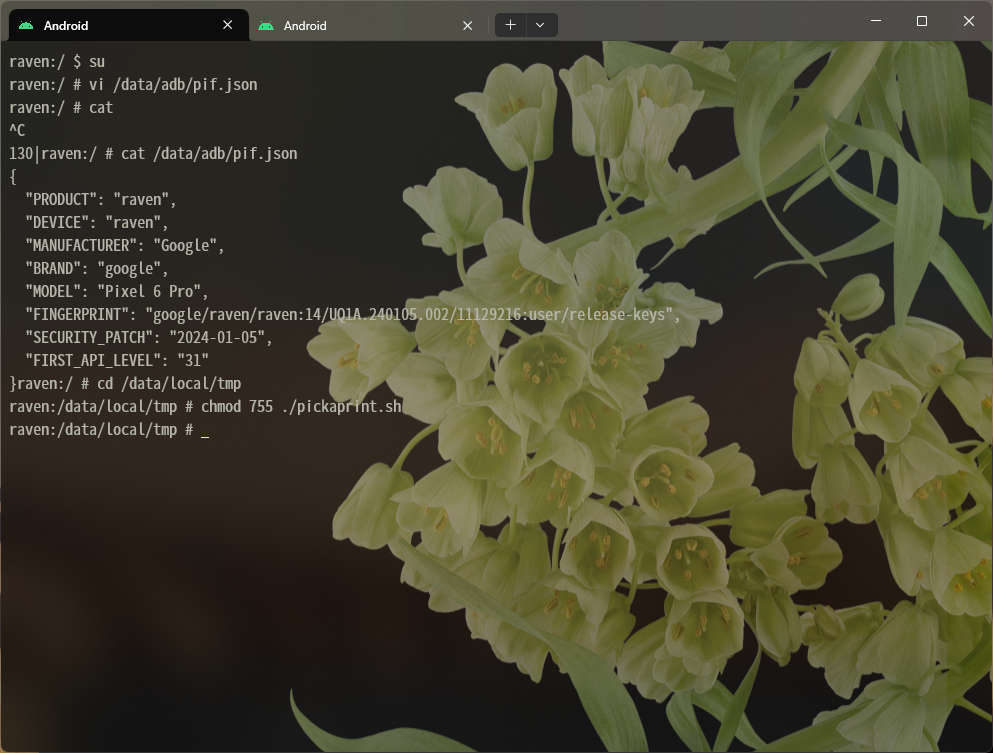
切换到 /data/local/tmp 方便后面操作、
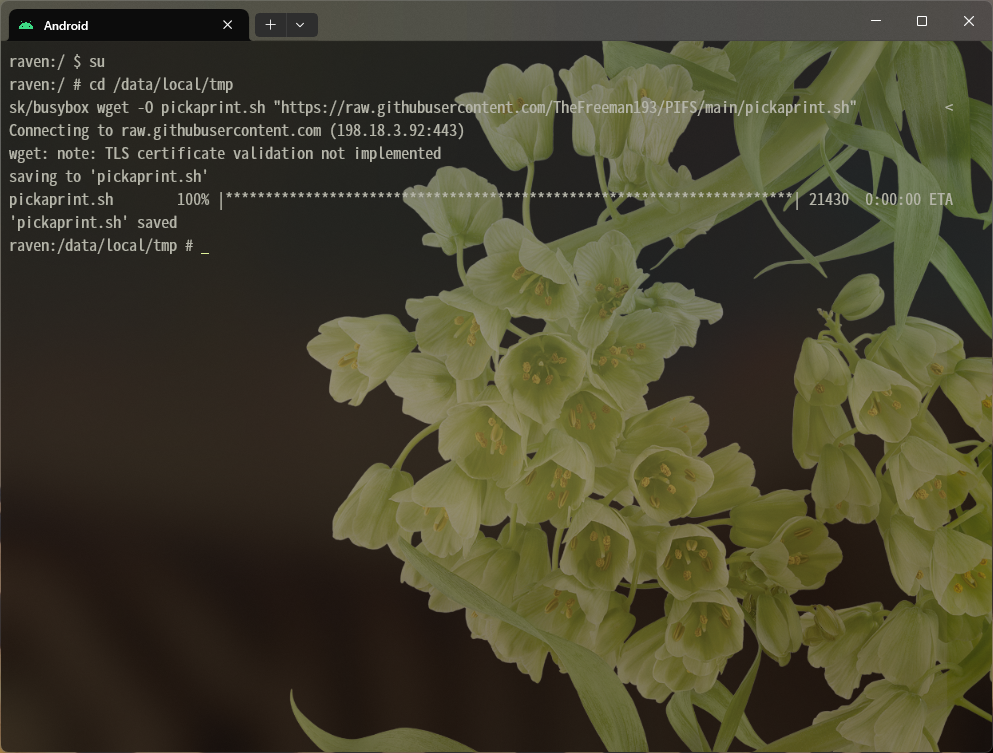
使用/data/adb/magisk/busybox wget -O pickaprint.sh "https://raw.githubusercontent.com/TheFreeman193/PIFS/main/pickaprint.sh"命令下载脚本,对于 KernelSU 用户可以使用/data/adb/ksu/bin/busybox wget -O pickaprint.sh "https://raw.githubusercontent.com/TheFreeman193/PIFS/main/pickaprint.sh"命令
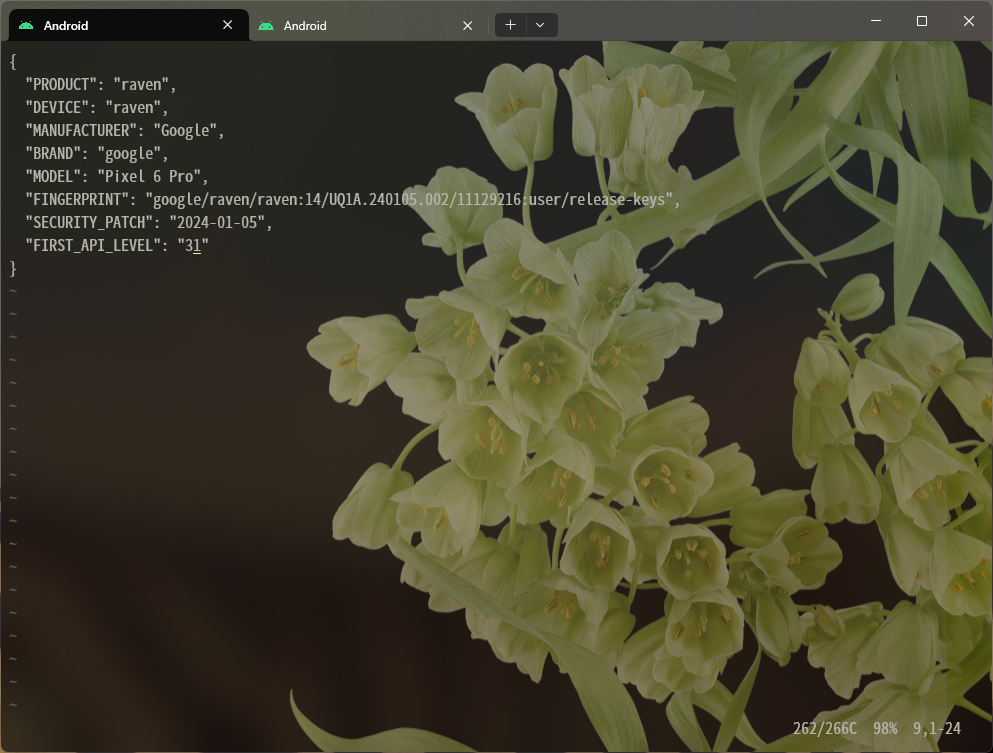
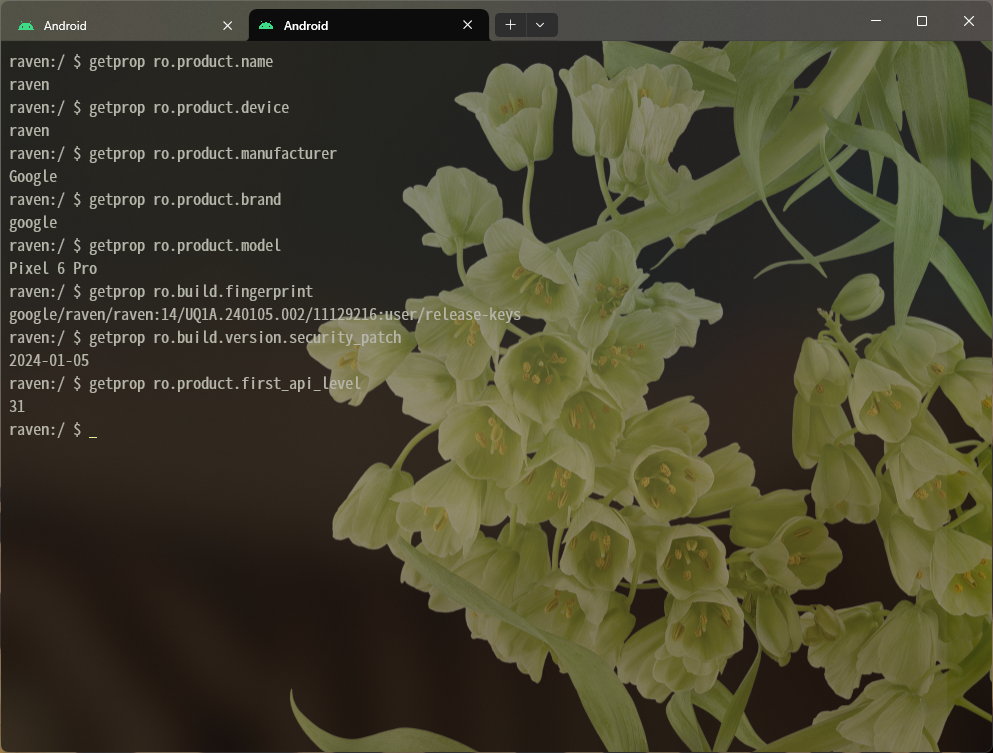
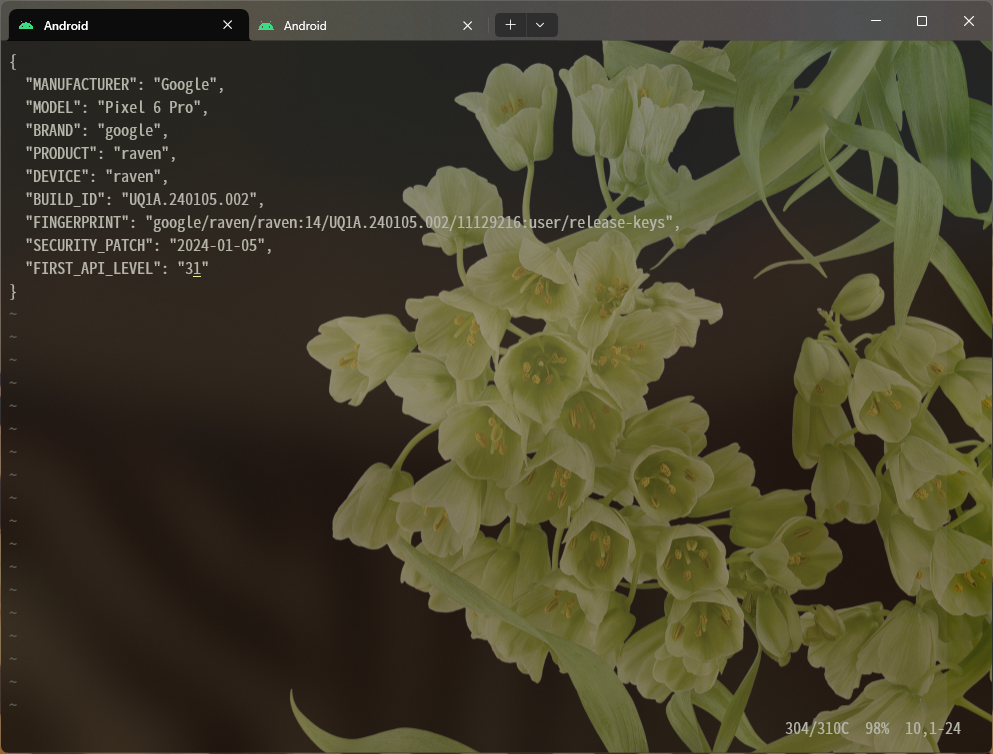
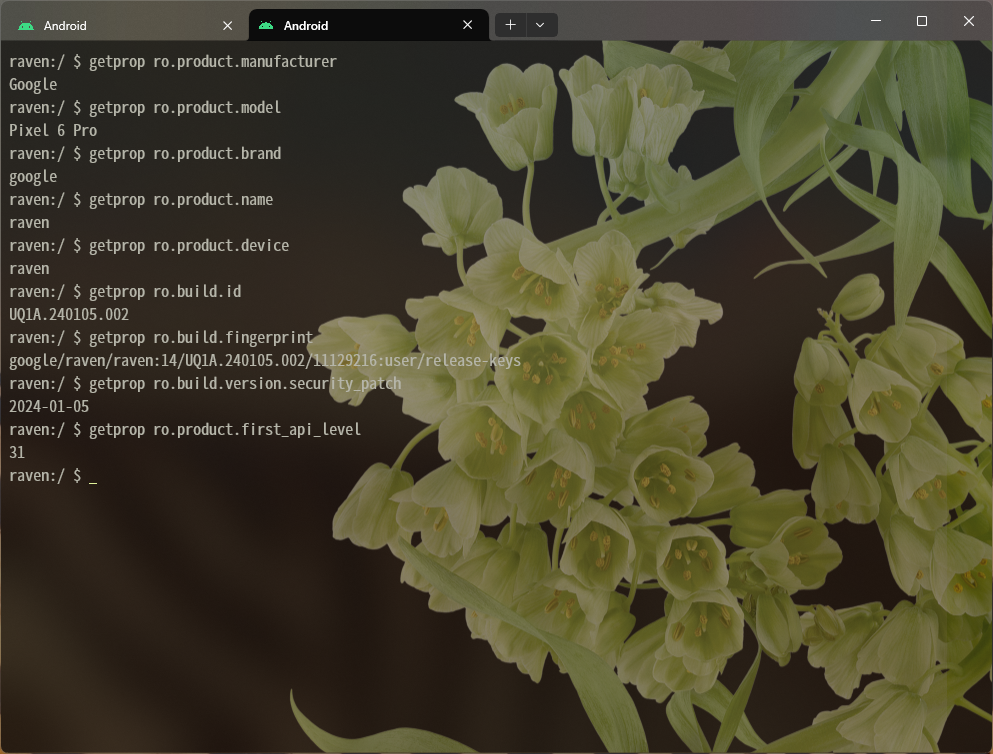
编辑 /data/adb/pif.json,我这里使用 vi。填写的内容可以通过getprop获取
使用chmod 755 ./pickaprint.sh命令给予脚本 755 权限
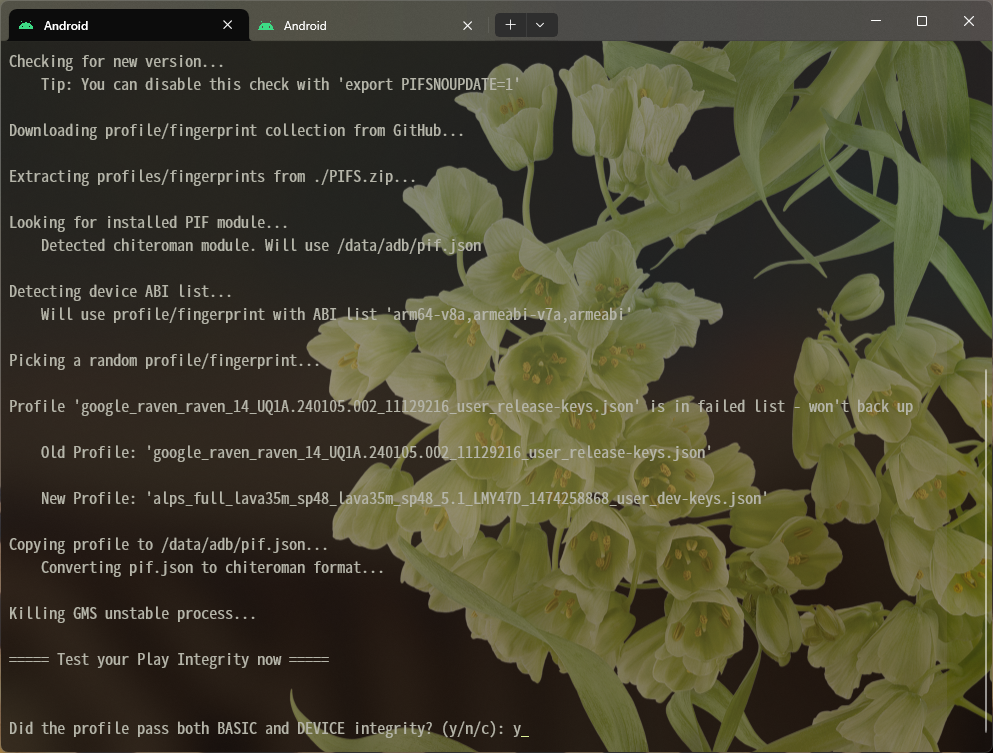
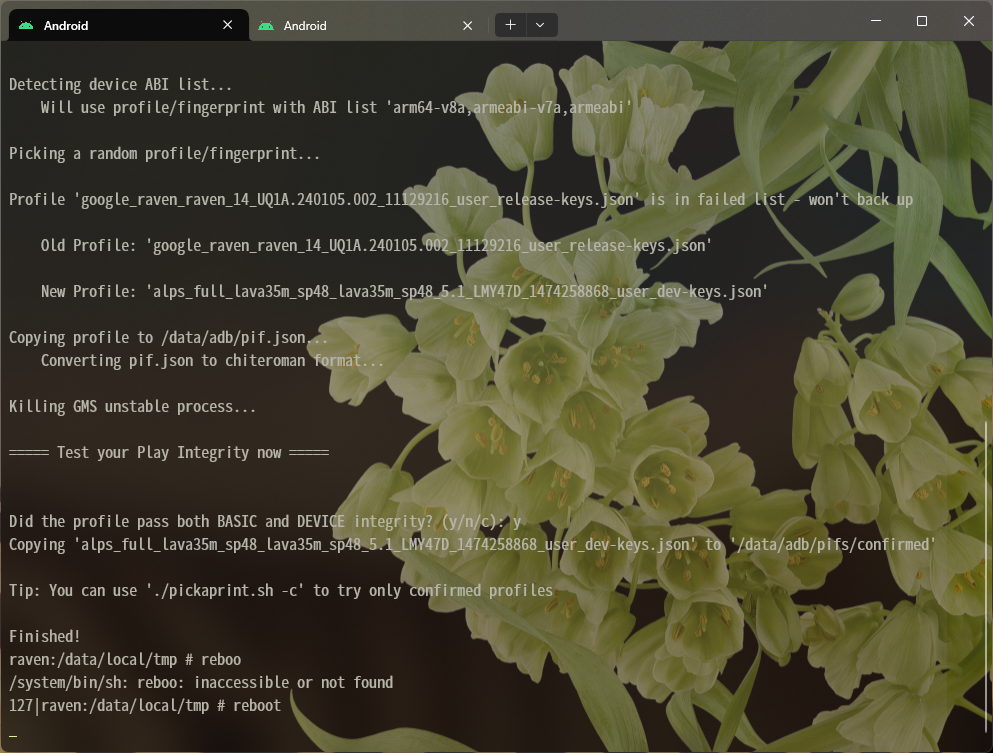
./pickaprint.sh运行脚本
reboot 看下效果
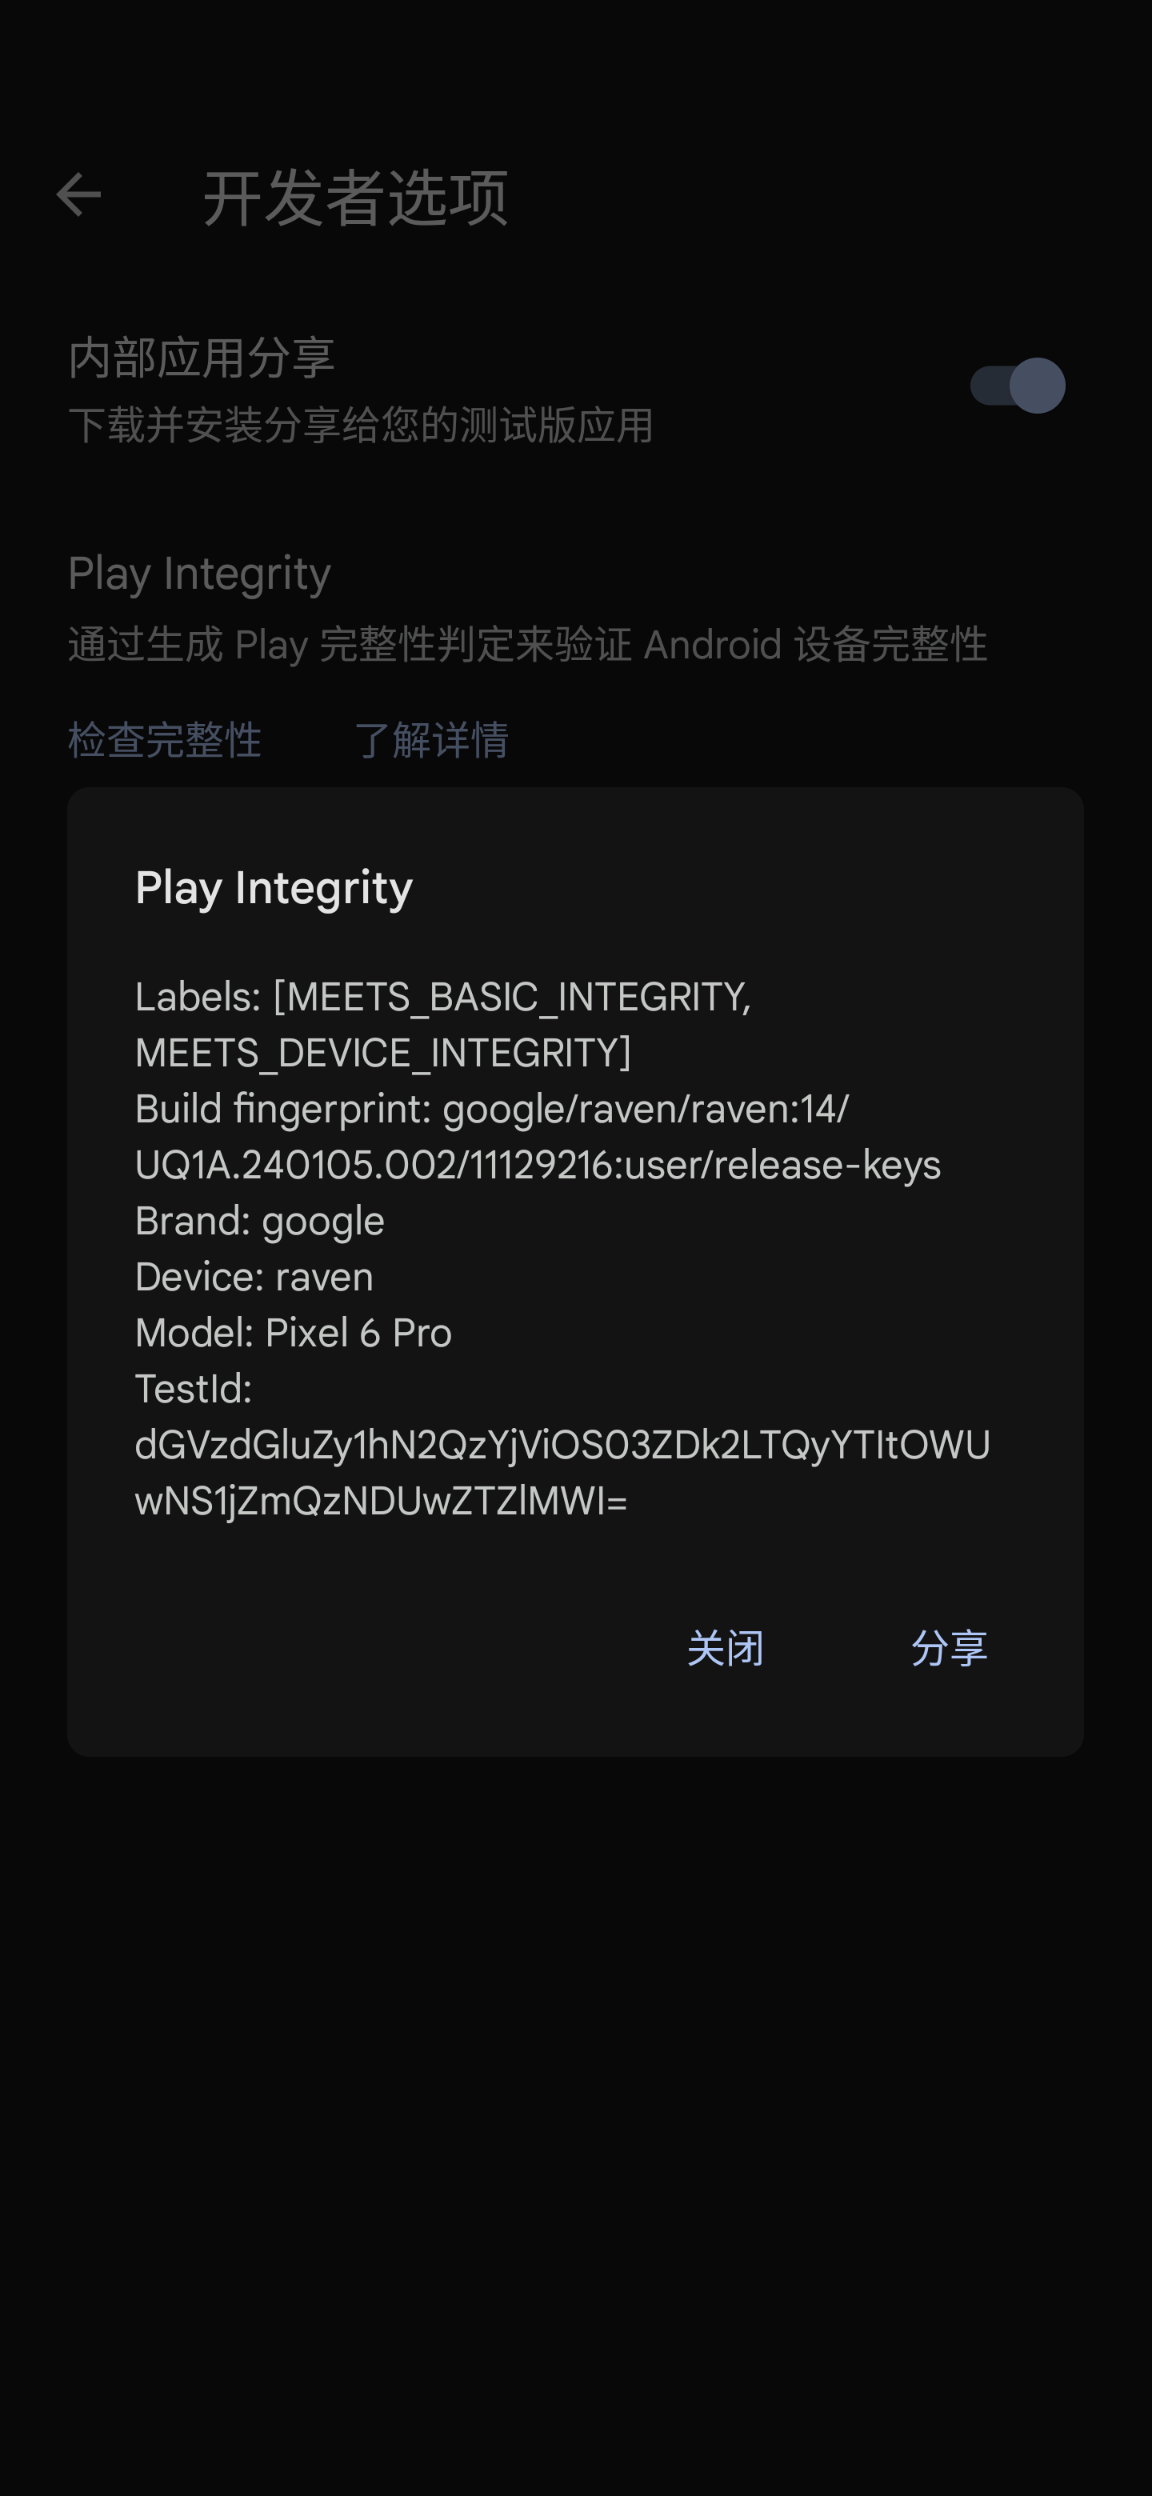
再次打开 /data/adb/pif.json,发现是信息被改了,可能是之前填少了,可以看到多了一个 BUILD_ID,重新填一下试试
再看看

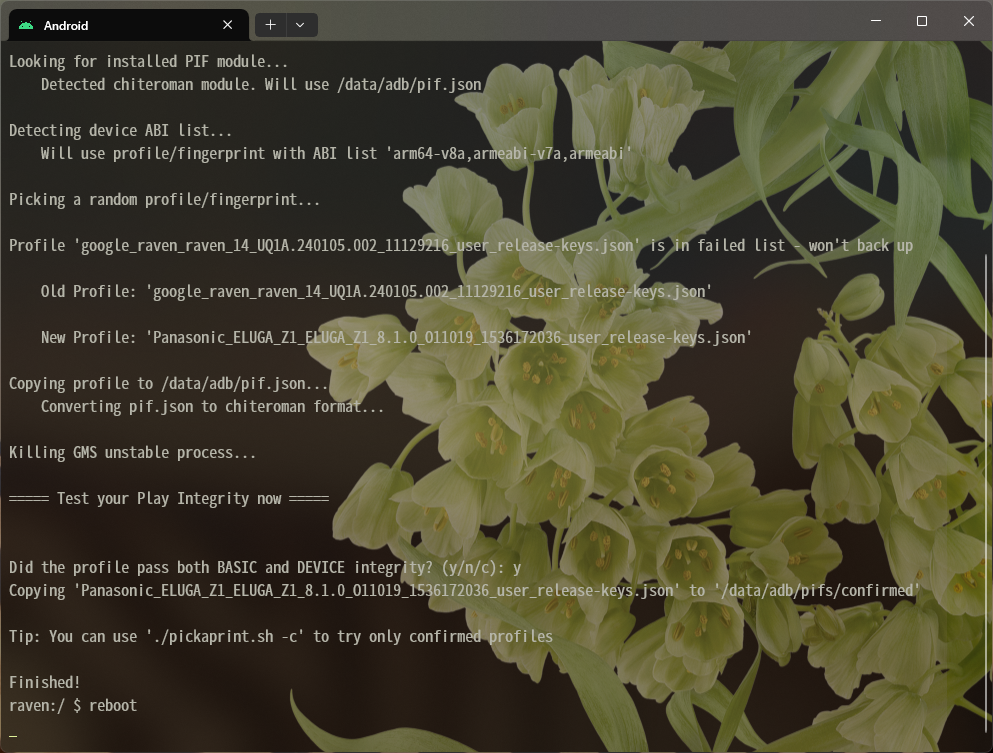
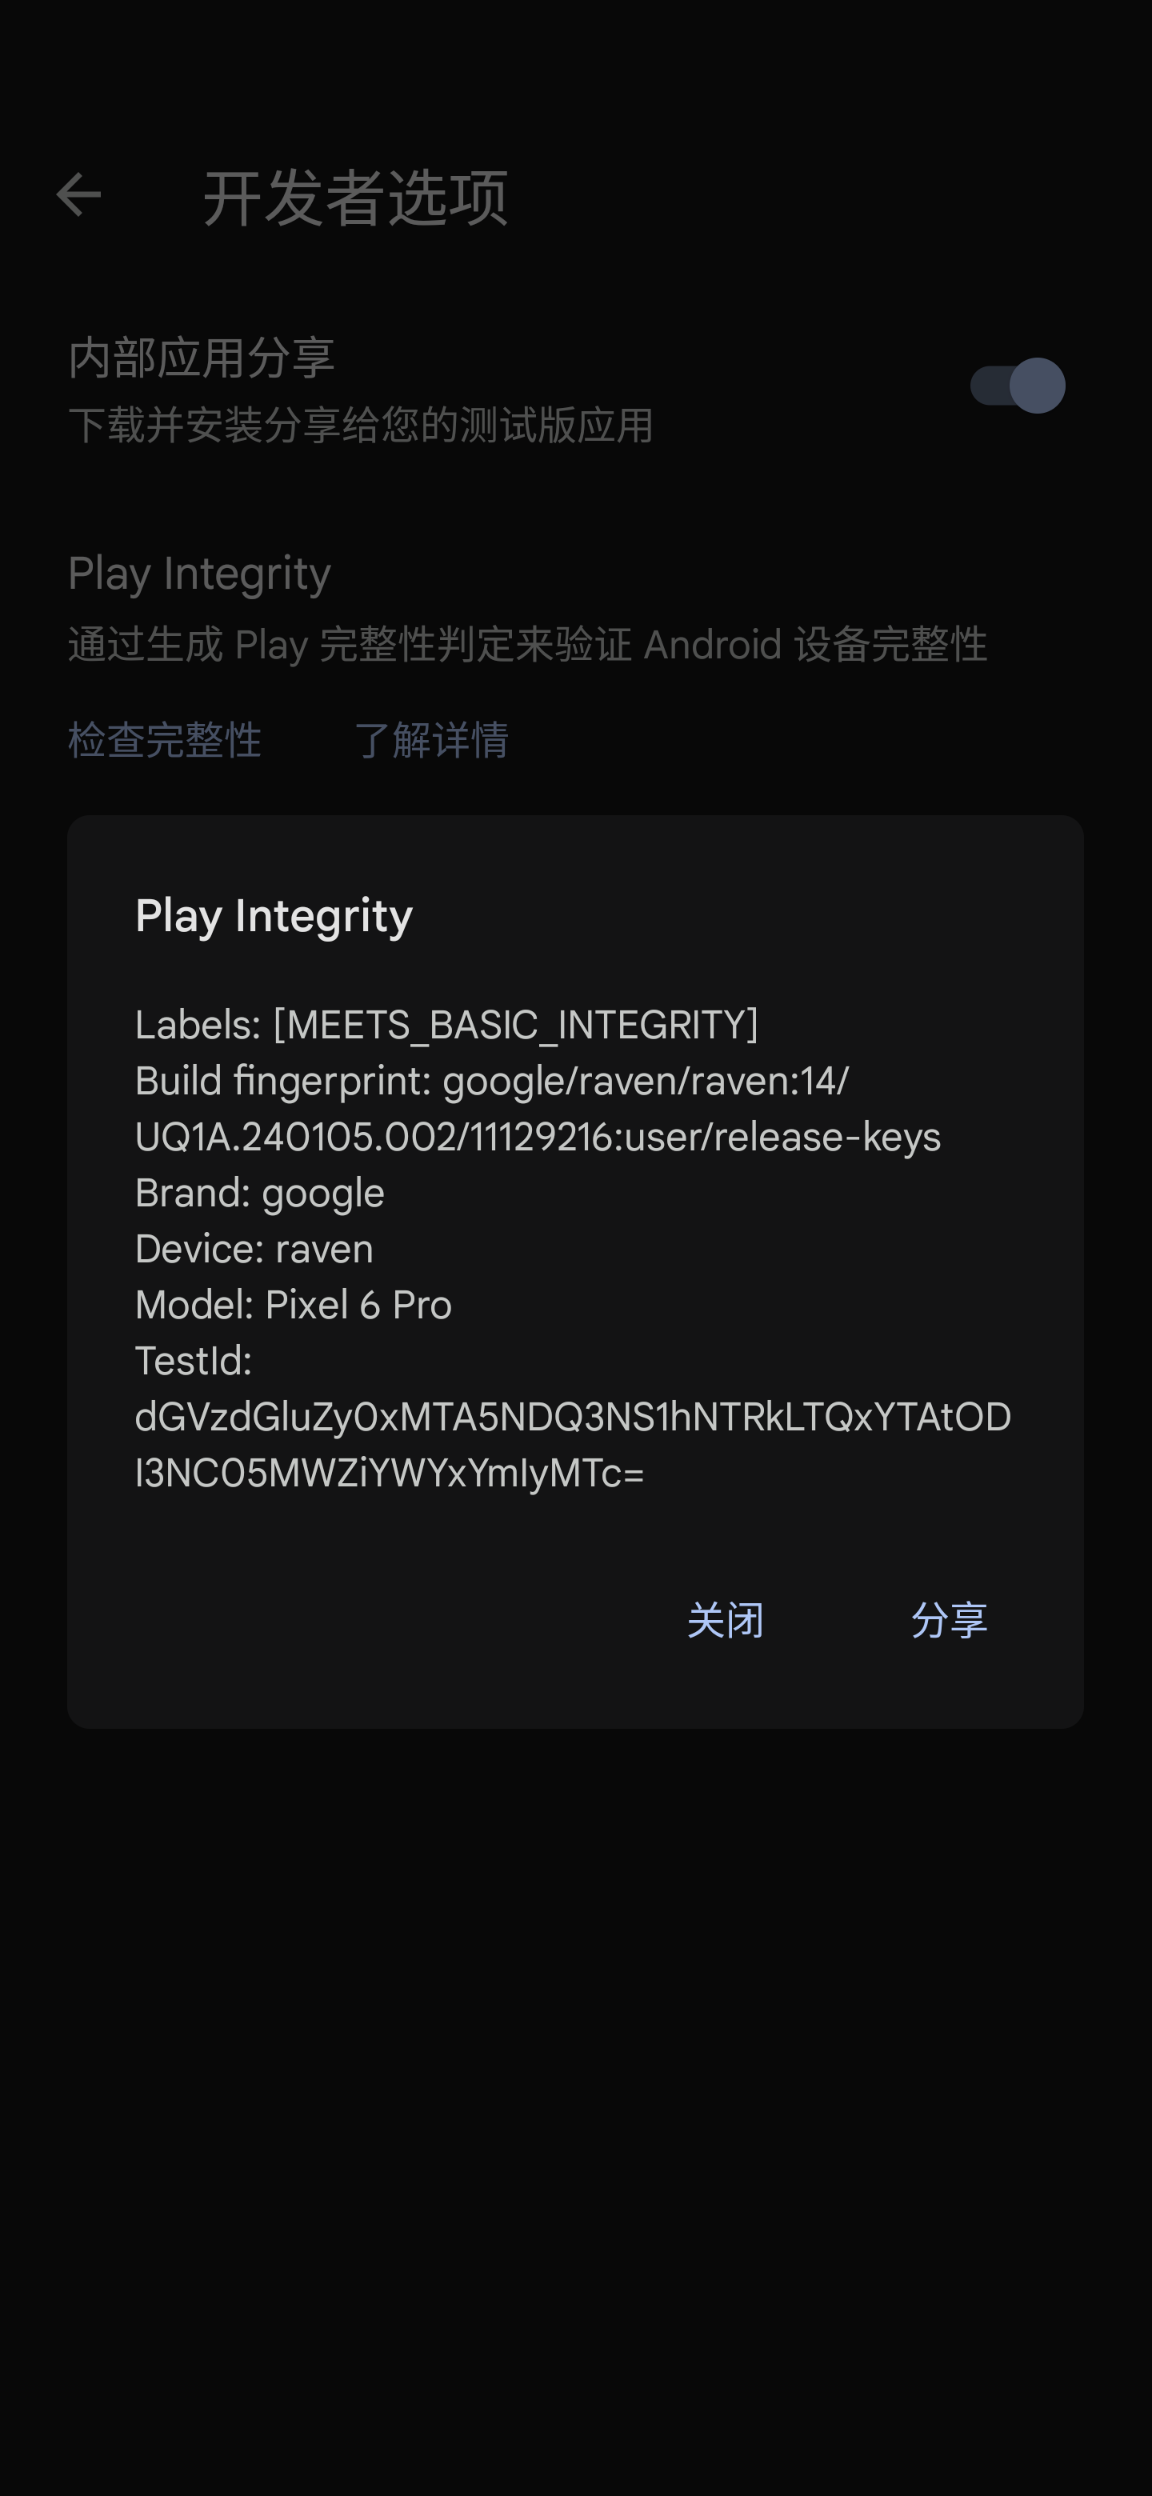
再检查一遍,MEETS_BASIC_INTEGRITY 和 MEETS_DEVICE_INTEGRITY 都有了。至于 MEETS_STRONG_INTEGRITY…那是真的没办法,曾经可以靠漏洞破解,但现在已经修复了 🙁